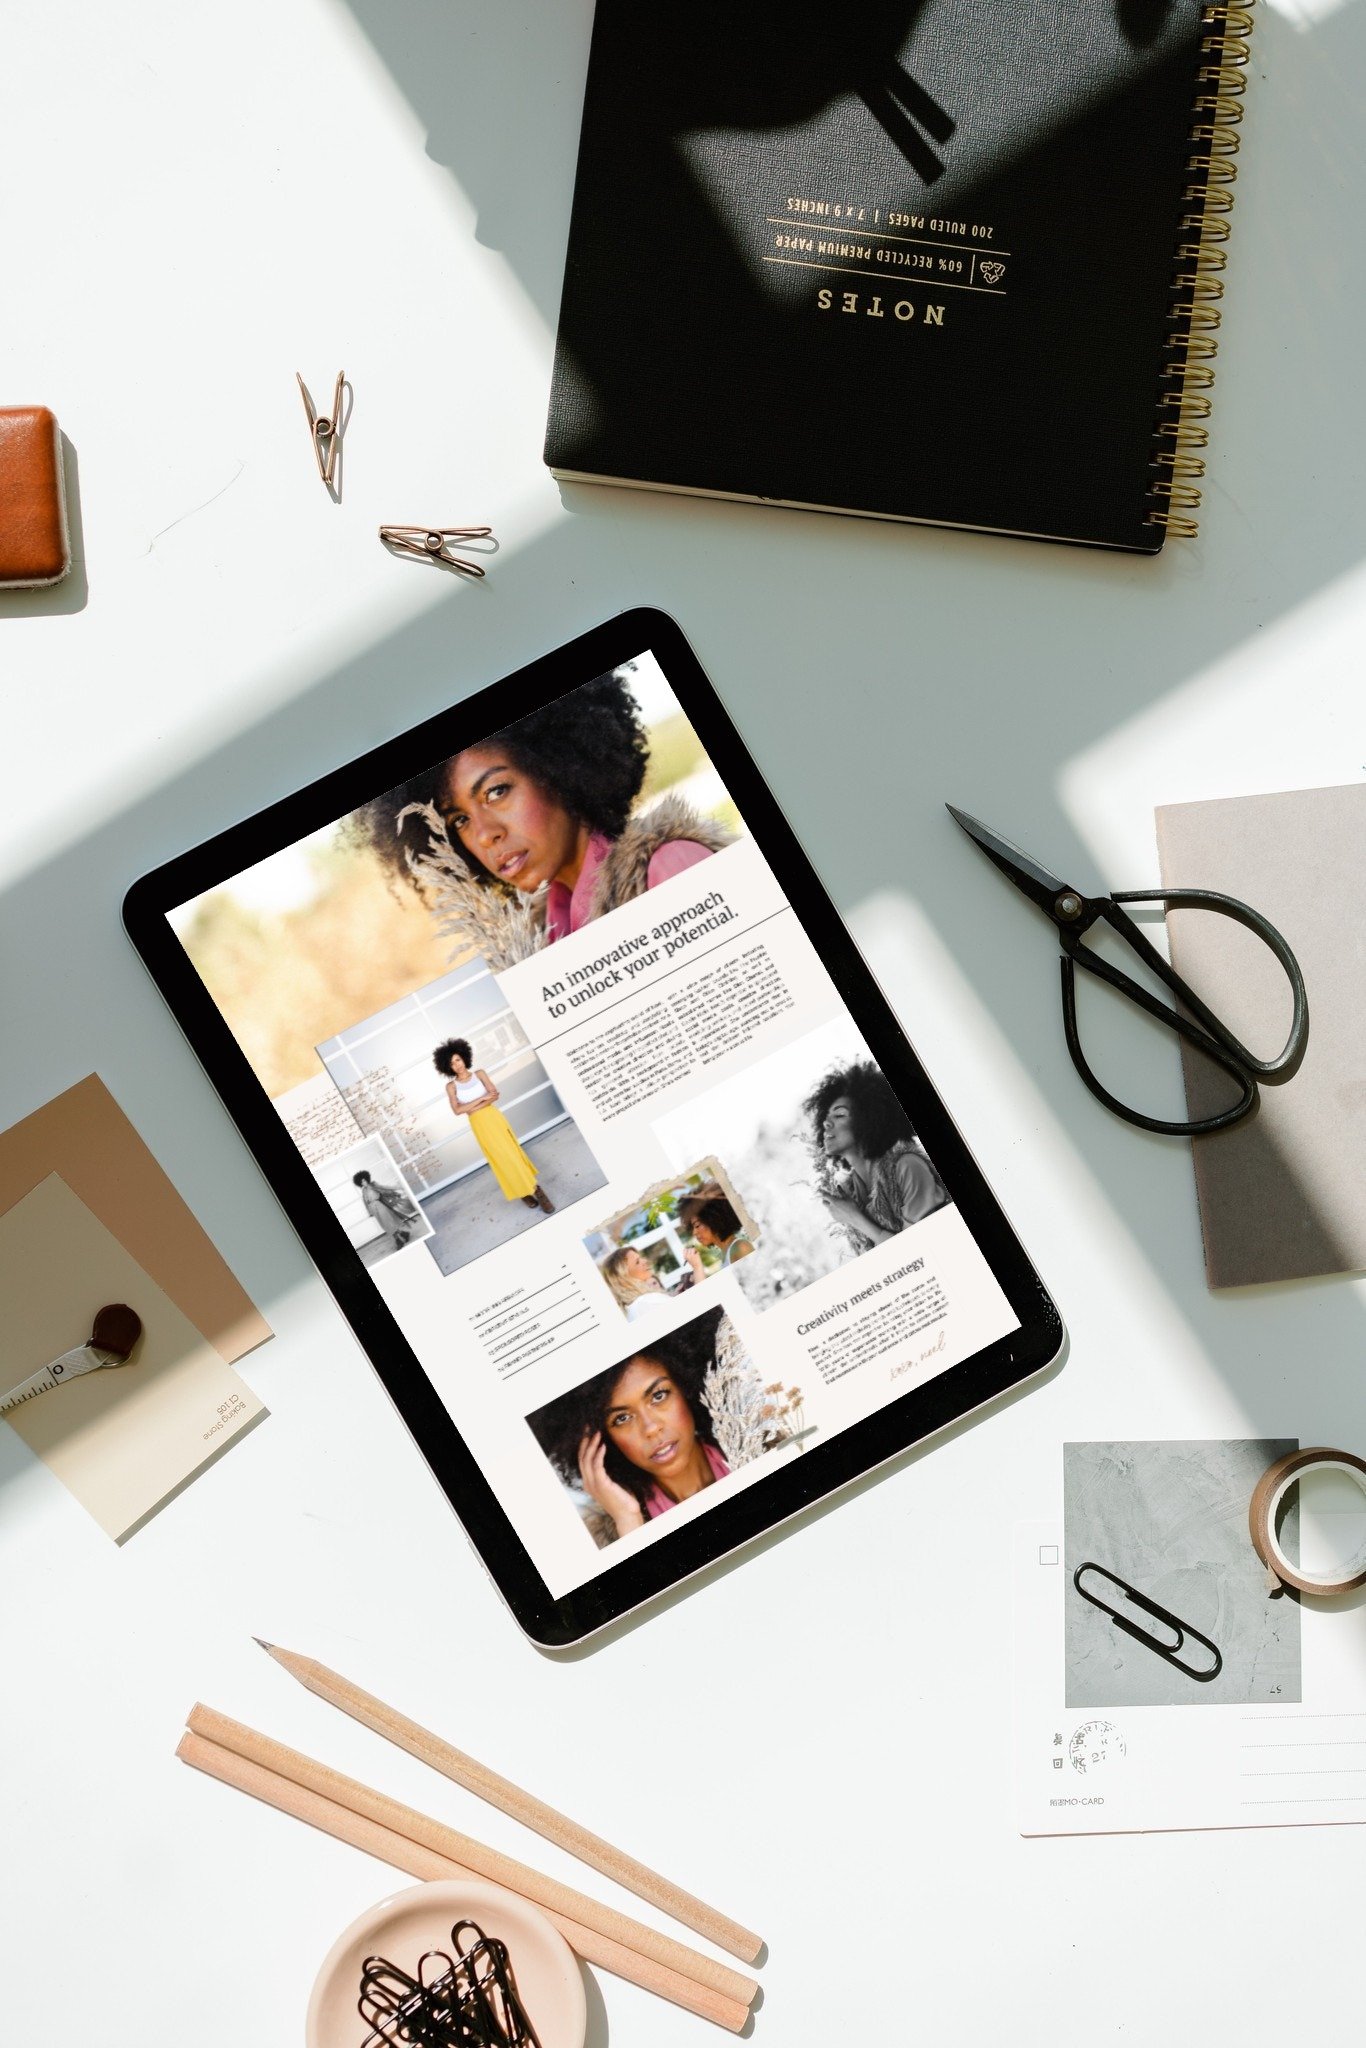
5 Easy Steps To Take Your Own Brand Product Photos
Between Brand Shoots? Use my brand photography tips to learn to DIY your product photography or brand flat lays like a pro.
Let’s face it. Life - as a business owner - is hectic. And sometimes booking a brand shoot with a popular Austin brand photographer means booking months in advance. In the meantime, you have new products rolling out that you need to share with your audience, like, now.
Sure, the vast majority of online shoppers rate product photos as their top deciding factor when making a purchase, but that’s only the reason. You also want to avoid dissatisfied and generally unhappy customers - especially when you consider that 22% of online purchase returns are due to the product appearing different from its pictures.

Your first time shooting your own products, it might seem like an impossible feat. How can you produce scroll-stopping, authentic images with a smartphone and limited skills?
But with the right strategies and tools and these brand photography tips, anyone can do it. All you need is some patience and a little bit of know-how: things like camera options, lighting, perspective, and editing. With that, you’ll be DIYing like a pro in no time!
So if you’re in-between Austin brand photo shoots, here are some of my favorite tips and tricks to help you DIY your product photography - like a pro!
First Brand Photography Tip: Let’s talk DIY camera options…
Taking your own product or brand shots doesn’t have to involve complicated techniques and a lot of fancy gadgets. You don't need a lot to get started. You can even use your smartphone for now.
Truthfully, you’re more likely to get better images if you keep things super simple and easy.
In the beginning, you might feel tempted to buy a lot of new gear. But remember, adding to your arsenal likely means adding to your overwhelm. New cameras, lenses, memory cards, software, etc. - it can quickly feel overwhelming. That’s why the best advice for beginners is to stick to the simple stuff you can do at home with your phone camera. You can hire the professionals for high-quality images later.
After you’ve mastered simple product or brand images, you might feel ready to up your game. When that happens, it’s a good idea to move onto a small DSLR camera, while you continue getting comfortable with changing lenses and settings.
When I started out in photography, I used the Canon Rebel T3I, and today you can get a similar, good DSLR option for under $500 brand new.
Elements to Consider As You Plan To Capture Your Own Product Photos
1. Lighting (a.k.a The Real MVP of Brand Photography Tips)
A lot of times the difference between a good photo and a bad photo is lighting. That’s why you should make lighting your primary focus. Even, natural lighting will do wonders when it comes to elevating a shot.
Pro advice: Shoot near a window in daylight (or take the whole shoot outside!) After you have more experience, you can play with fun shadows and lights, but stick to even lighting in the beginning, to keep things simple.
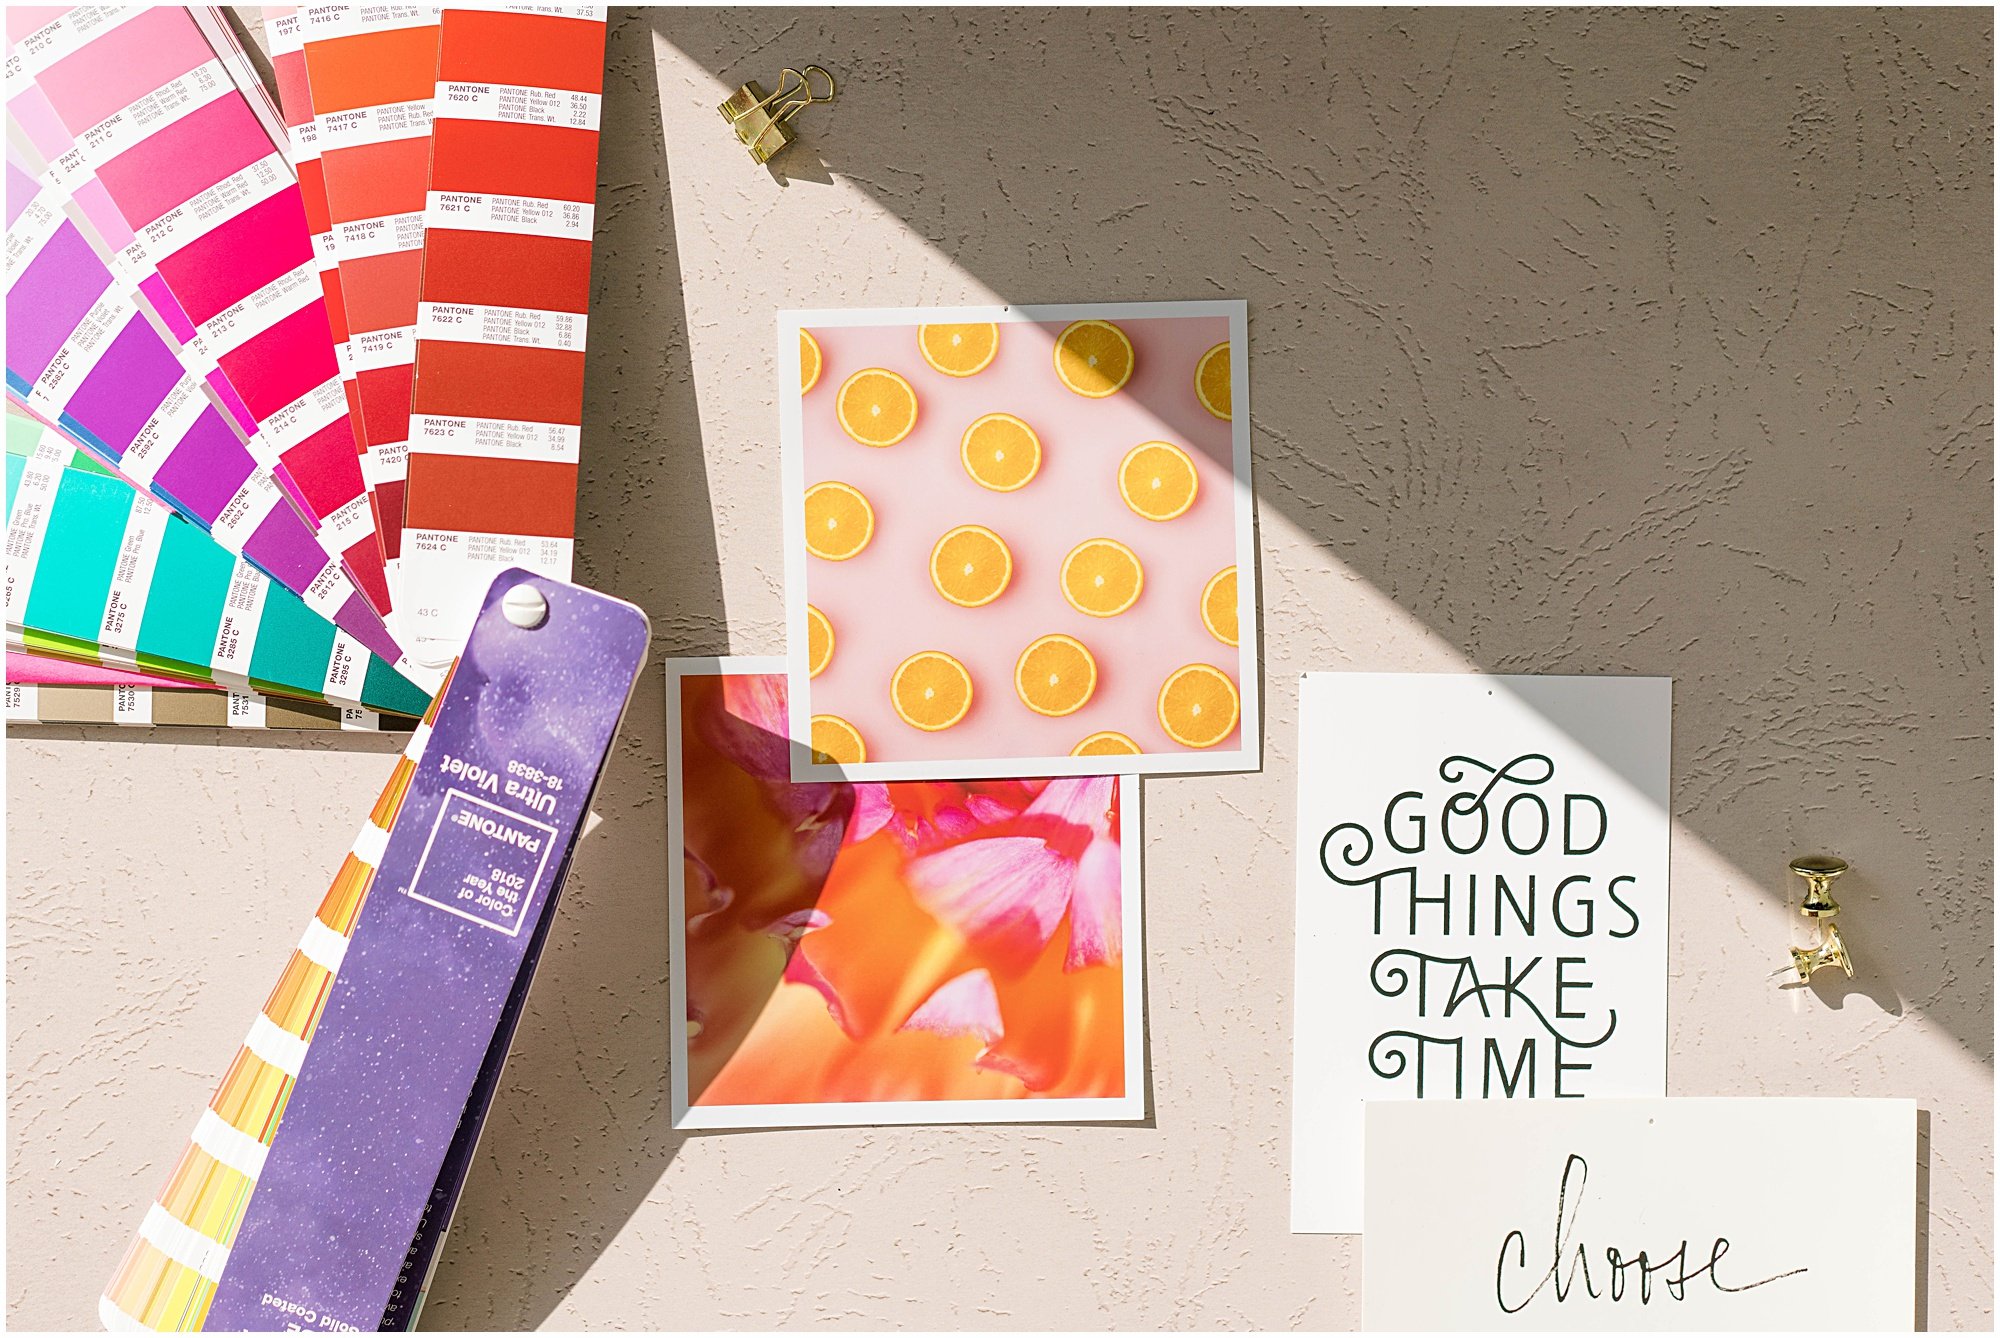
2. Colors
Choose a color palette and work within it. You want to use colors that serve a specific message and help create the right feeling. Color is pretty, but your brand and product photos will suffer if you try to use too much at once.
3. Inspiration
Look at inspiration images. Clip pictures from magazines or create a Pinterest board of images that speak to you. As you work, keep them handy as references and let them inspire you. Try out different things you like and see what resonates.
You Can DIY Your Product Photography Like A Pro In 5 Easy Steps.
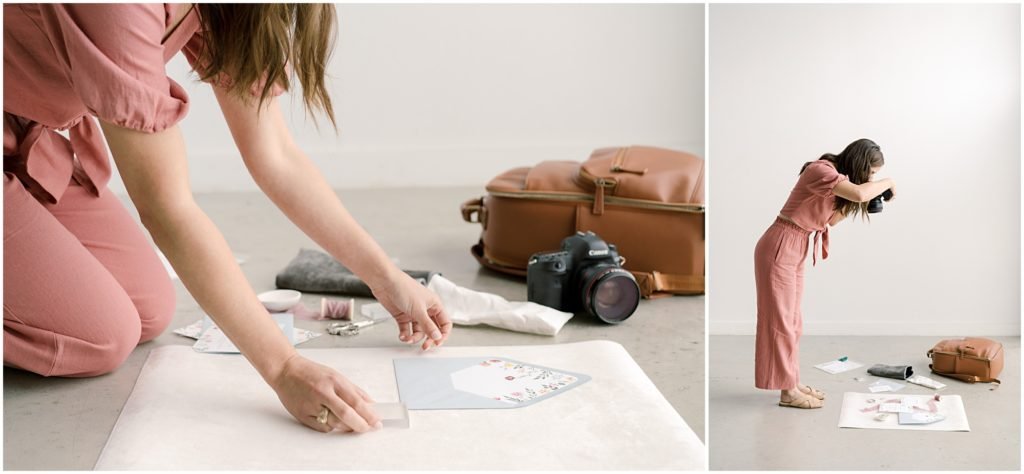
1. Establish the background.
Start by setting up a table by a window (even lighting, remember!) and use a white foam board to create a product shoot box. White foam board is cheap and easy to put together. You can tape the edges together to have it hold or use clamps. (See option 8 on this page for an example of this.)
The white foam board box will make your image look clean and crisp, as well as create the most flattering light for the subject. Later, when you're ready to invest a little money - you can get premade styling surfaces from places such as Replica Surfaces.

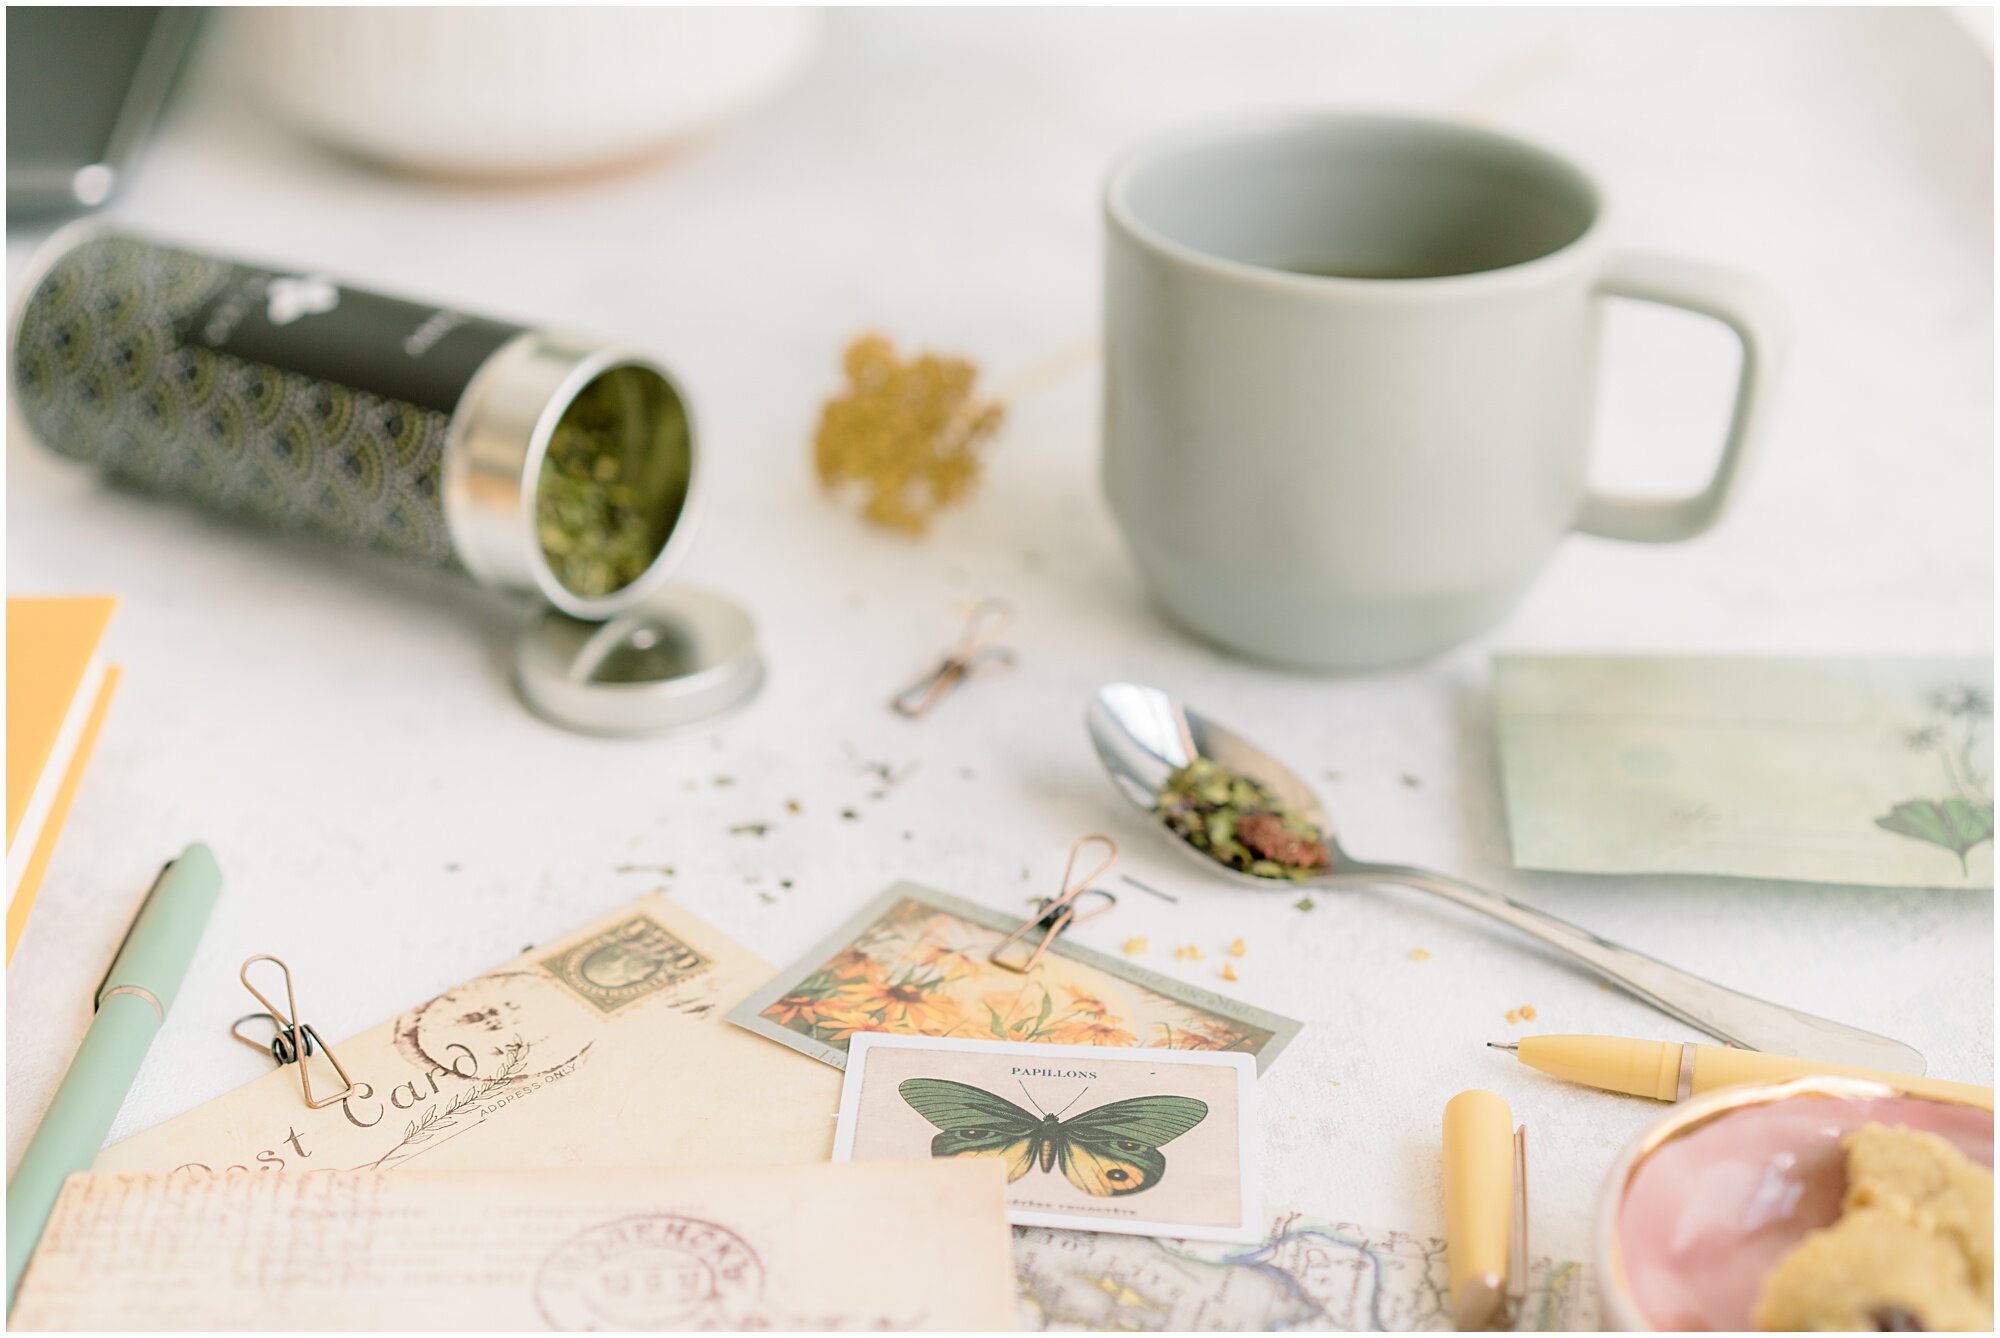
2. Create interest.
You want to help the viewer's eye to travel around the image frame. This is what photographers call “creating interest.” Pay attention to ads you see online, on social media, and in magazines. How do they get your eye to travel around the image? What is speaking to you in their ad?
Most of the time, professionals create interest by working with different heights and textures - in other words, dimensions.
Acrylic blocks make it easy to create dimension in a photo - without adding distractions. You can pull the different elements away from each another and onto different spatial levels and they're easy to hide. Wedding photographers use them all the time for flat-lay imagery photos - of stationary, for example.
You can find acrylic blocks on Amazon, in photography stores, or on Etsy.

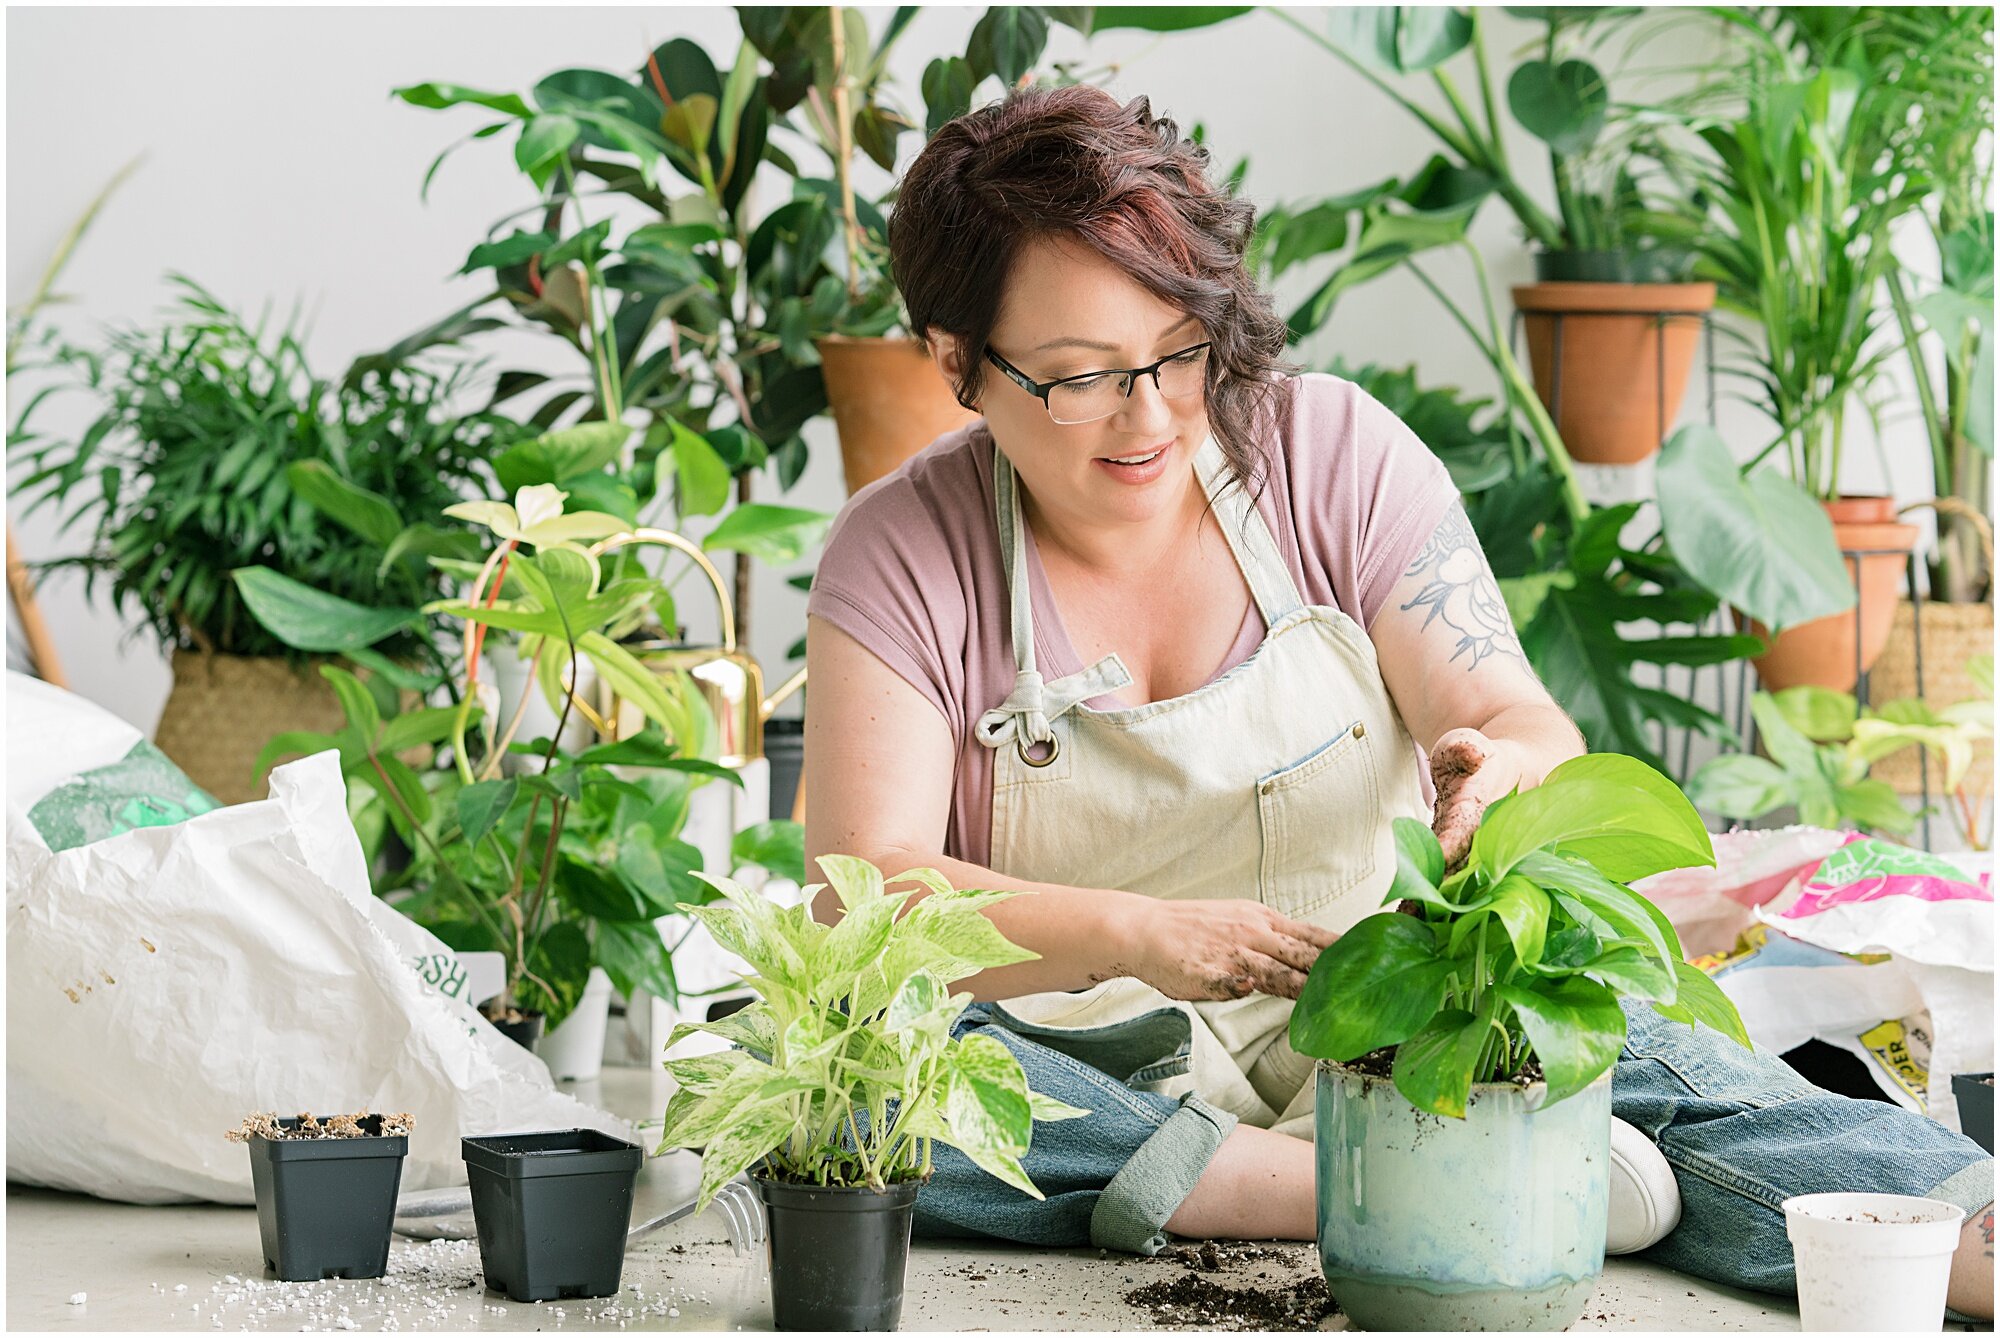
3. Set the mood.
The best product photos capture a mood. Consider the feeling you get from a concrete background in an image to one a linen one. By working with differing moods, you create the right mood for your product and audience.
You can set the mood by infusing pops of color and texture in creative ways, or getting creative with light and shadows.

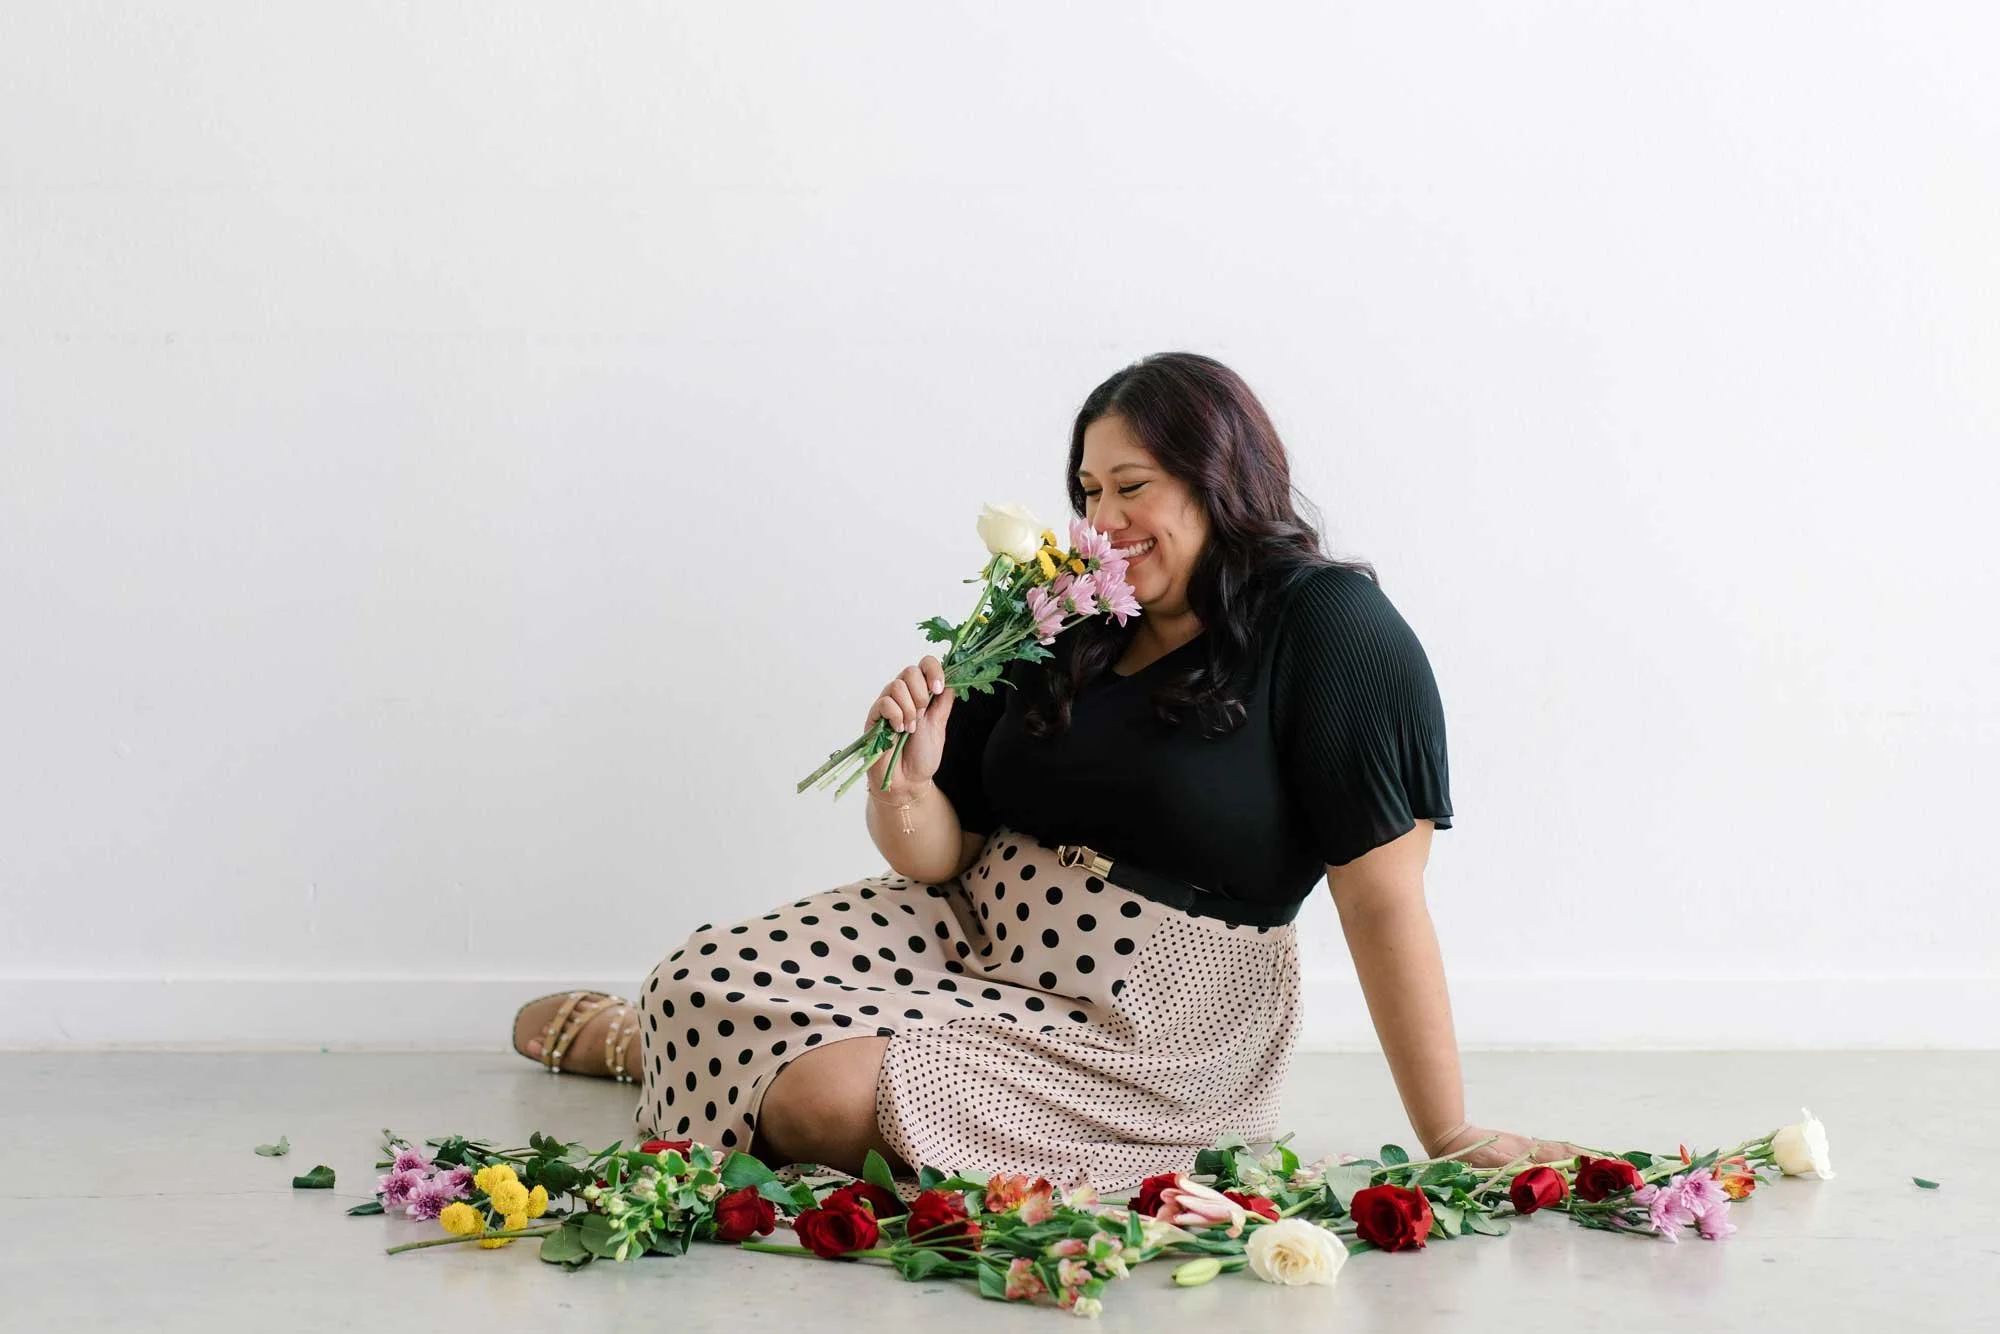
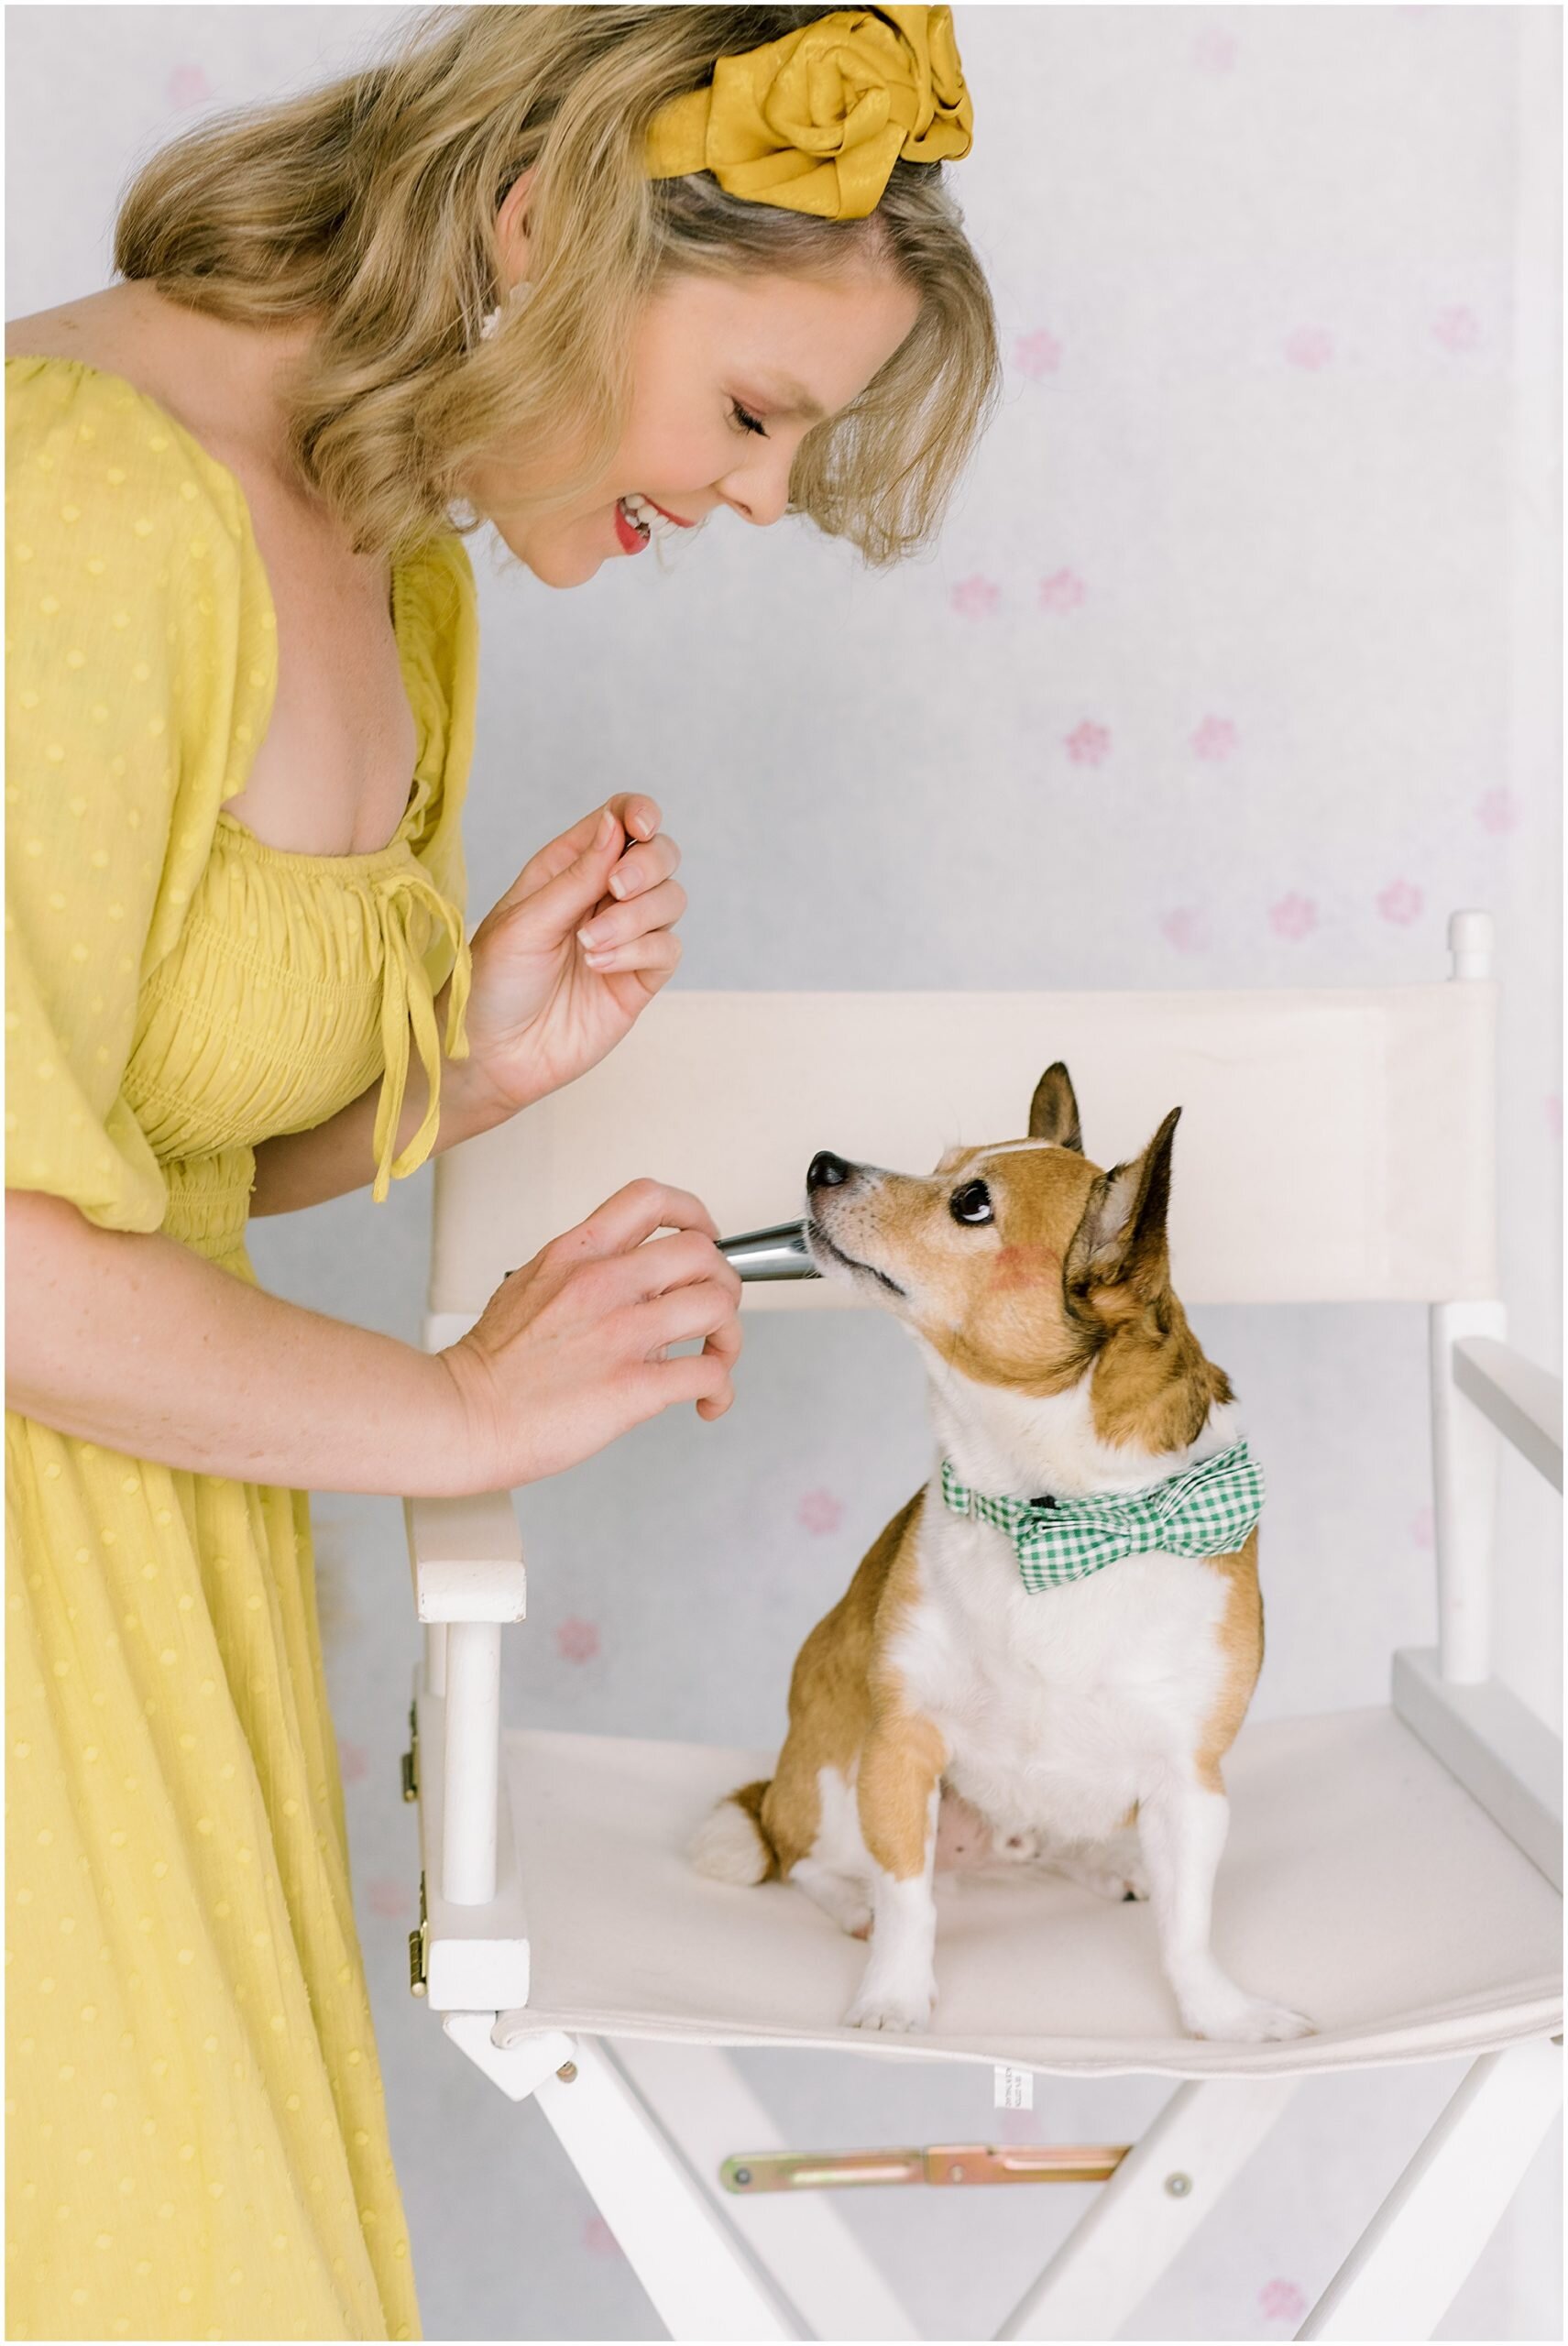
4. Tell its story.
Consider the story you're telling in the image. What makes it different, unique, and enticing? If you're showing off a piece of jewelry, for example, how can you highlight its unique features?
Any great storyteller knows you must also consider your audience. Who exactly are you telling this story to? What elements, colors, or lighting will speak to this person?
If you're speaking to a woman about jewelry, you’re probably going to tell her a different story from the one you would tell about men’s cologne. Does your woman want jewelry for a lush, garden wedding? Add in floral elements that will catch her eye. Does she love clean lines and simplicity. Keep it minimal and tidy.

5. Edit your shot.
Set up your shot, and always edit at the end. Check out some easy editing apps for your smartphone to get you started.
Think through your ideas, explore the options, but then scale back. Less is more in product photography. Usually, an image benefits from taking something out.
You want the brand image to stand on its own and speak for itself. Your product should never have to compete for 'air-time.' Make it clear what you're featuring.
Continue to play around with composition, angles, and styling. A lot of our ideas rarely work the first time we put them in front of the camera, and that's okay. You'll get better at this.
Soon you'll be able to identify what works and doesn't work for your products and your audience’s tastes. Try all your ideas and think outside of the box a little. Review and scale back. A lot of times, it’s when we think we’ve run out of ideas that the best images are created.
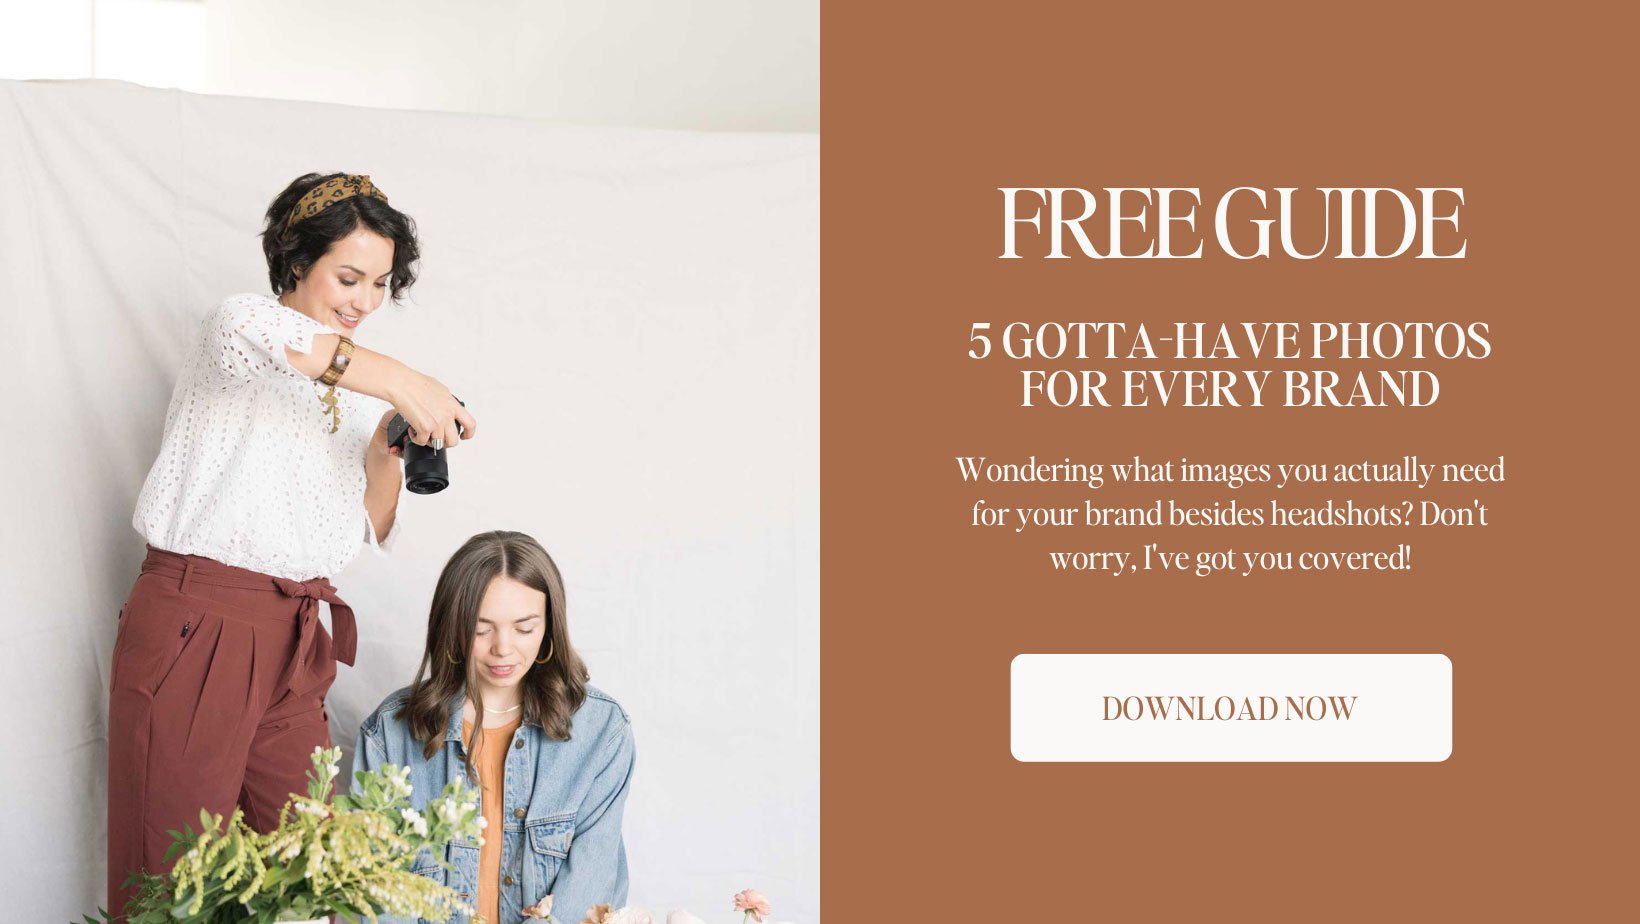
Ready to get the kind of high-quality brand photos that connect with your audience?
If you’re in the Austin, Texas area, be sure to check out the Signature Brand Experience.
Loved this post? Check out more articles like it!


Popular Posts